I agree on the podcast front, and what makes it worse it's for their own podcasts which aren't generating them any revenue so why have 5 minutes of ads 3 x per show for your own stuff. Not unless the other podcasts generate revenue through ads, but I doubt it, just getting you used to it for when it becomes a Black Mirror episode and you must watch your ads as prescribed by the government (aka business).
If I recall this was a big issue in Europe with a group of Irish guys doing the same thing.


So I sliced and printed a different model, and then rotated 1 by 180°, it is somewhat weird as the lowest part on the right model seems ok but as the wall built up on the inside it was getting the artifacts. The model on the left was getting the artifacts on the outer piece but not the inner.
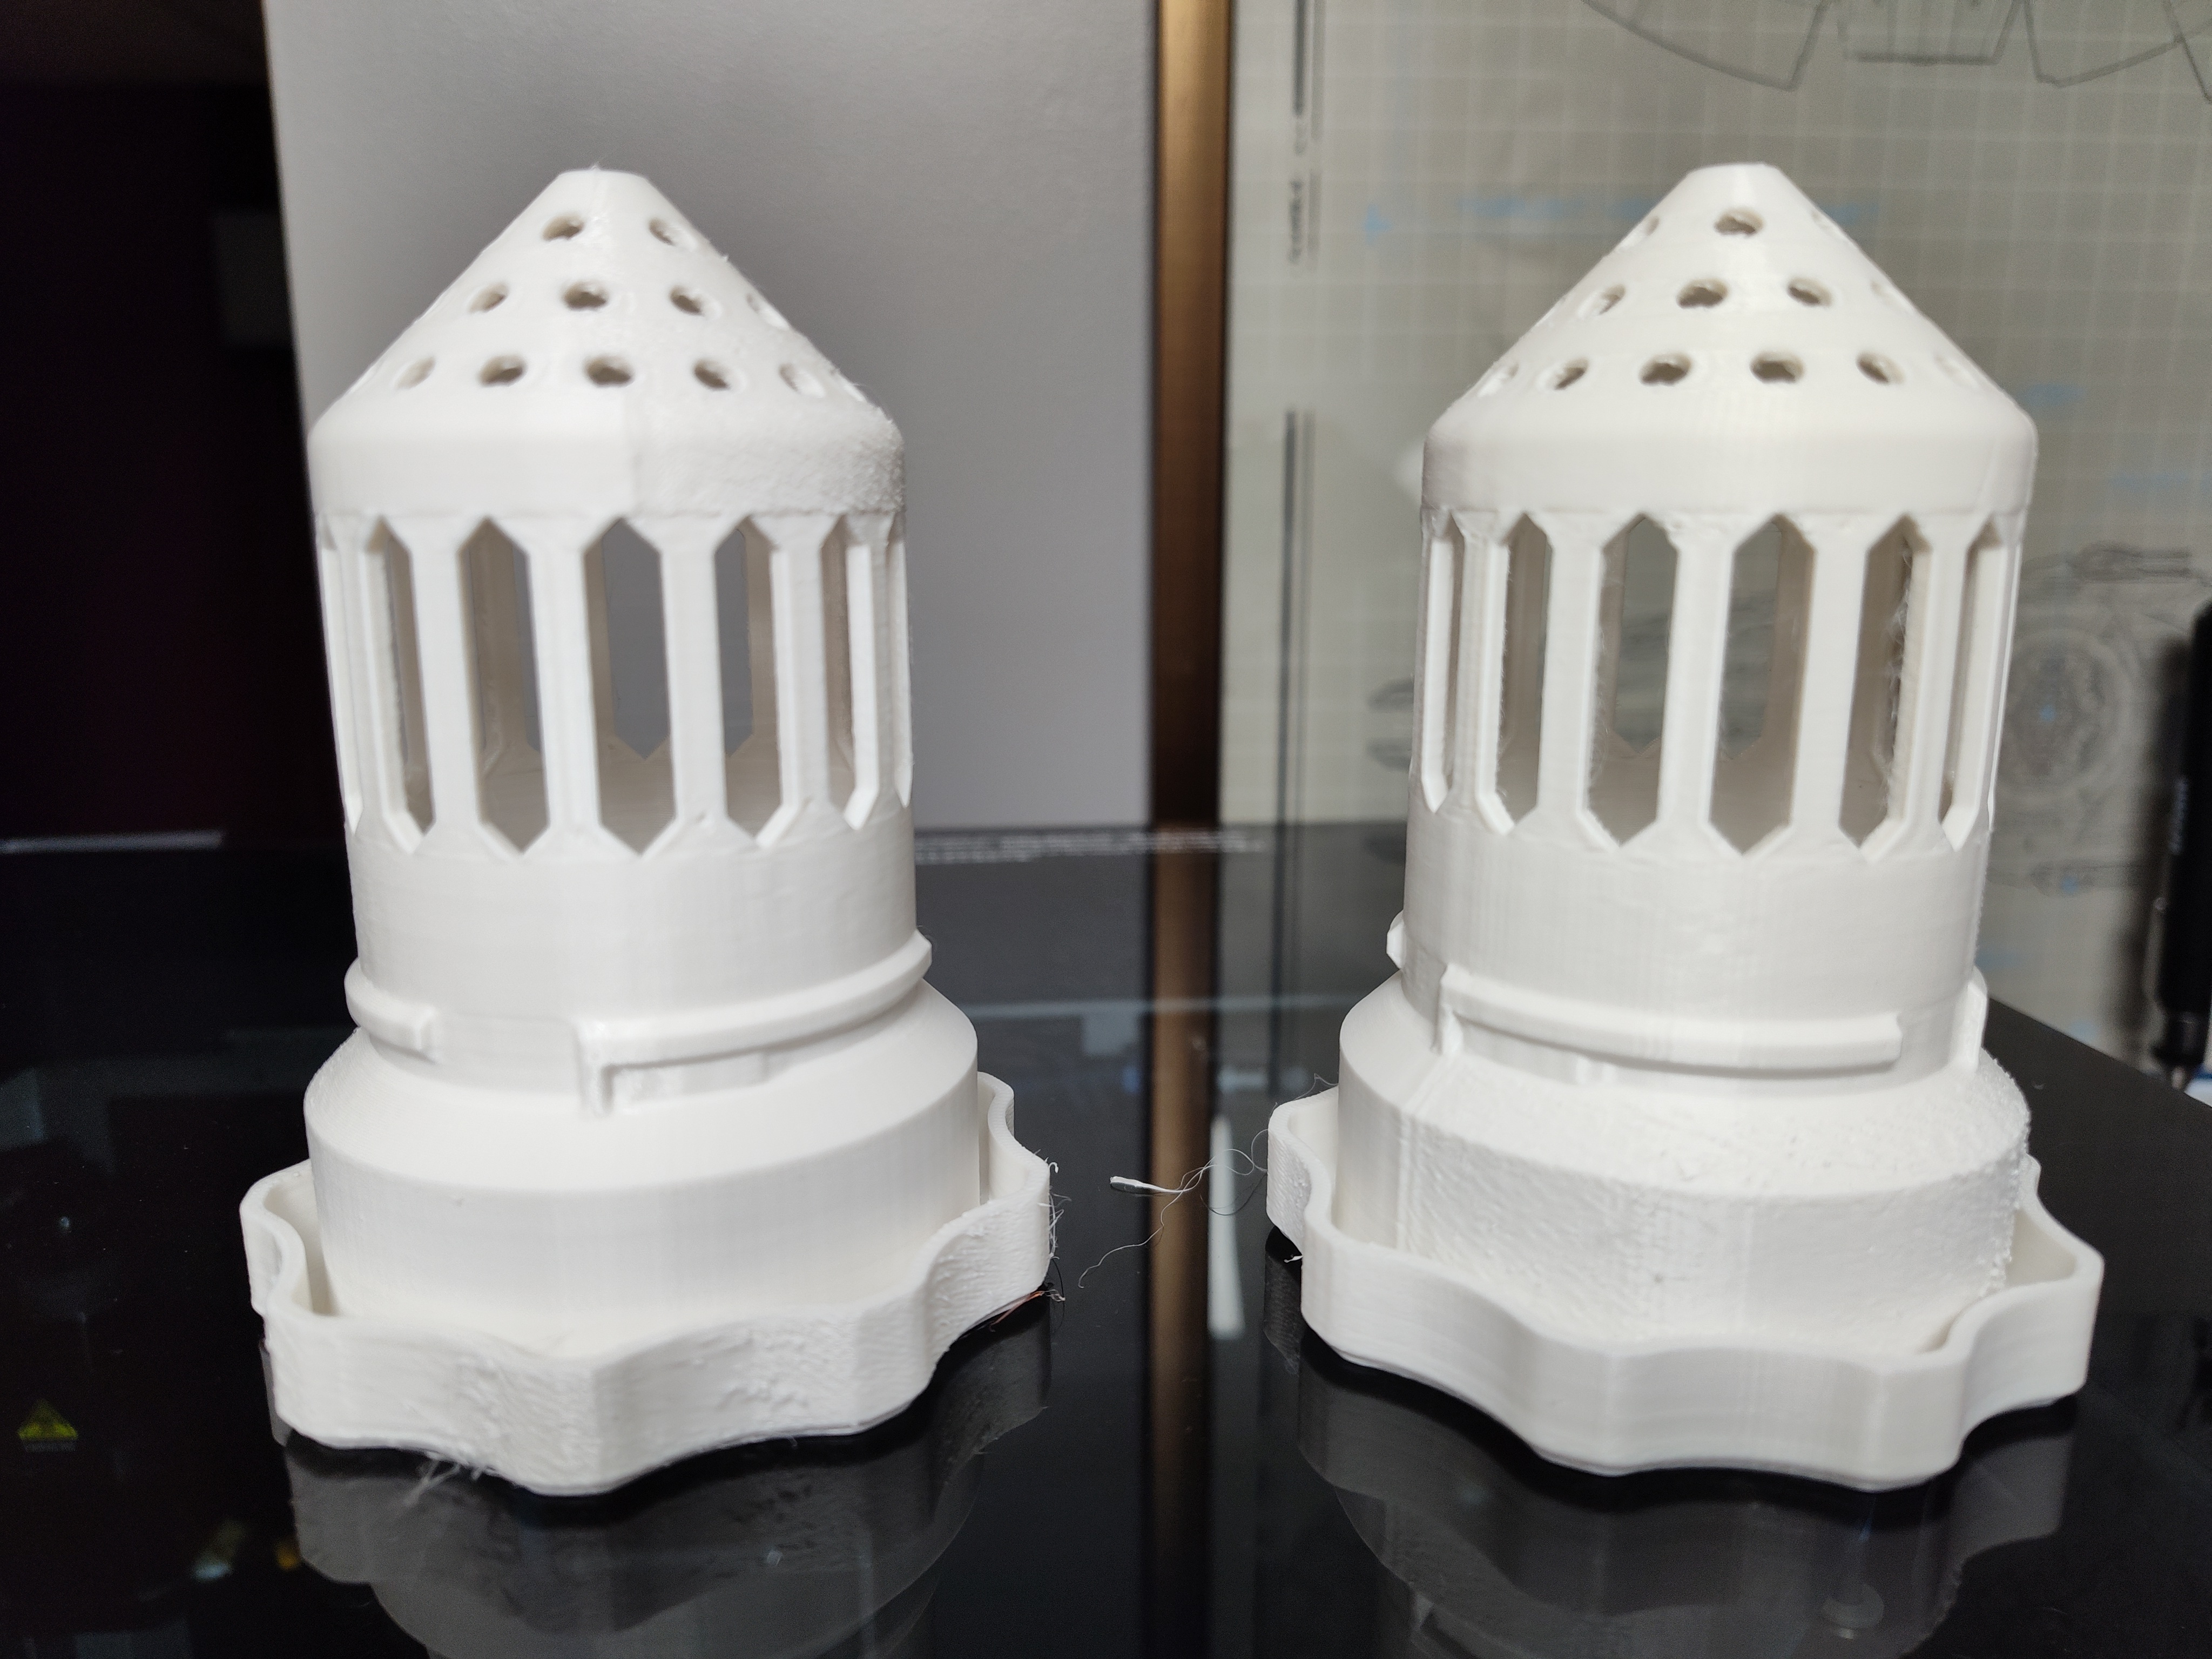
In rotating the models after, the artifacts are on the opposite side.

I noticed it was starting at the seam, I have the scarf joint on contour, and noticed that "scarf around entire wall" was checked so trying reprinting to see if that is the issue.

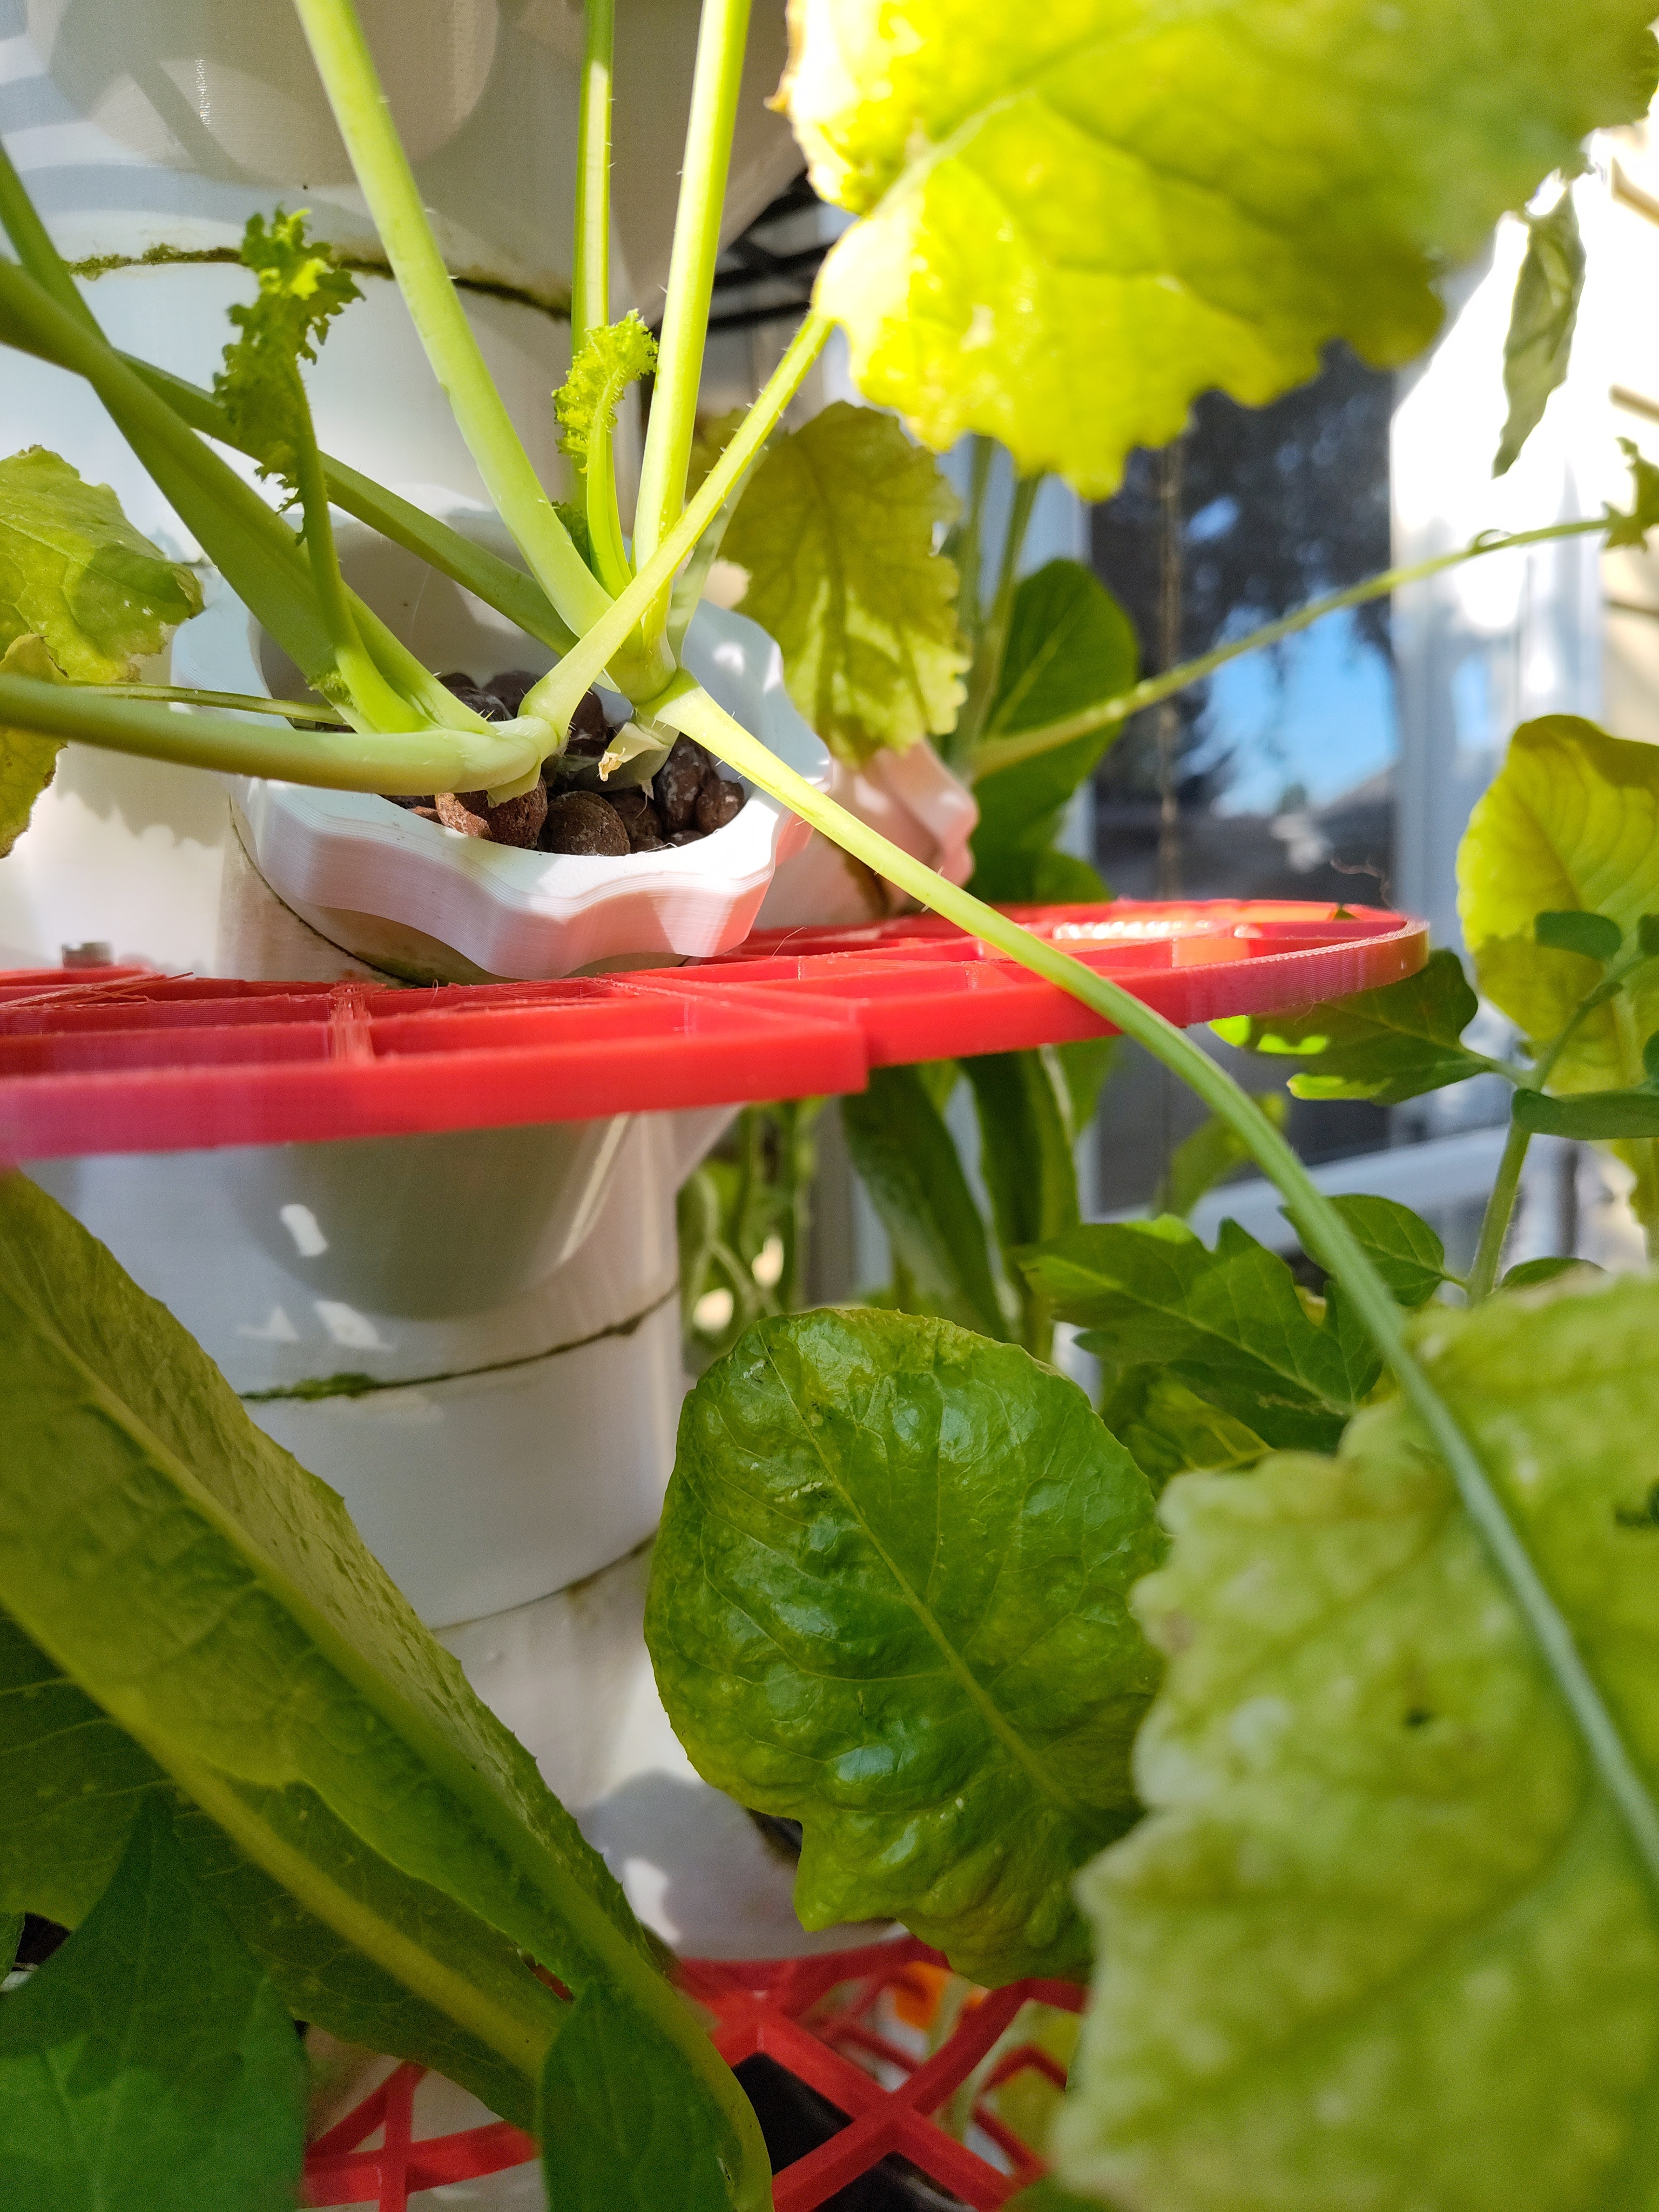
Good point, I have mainly been printing these items for the hydroponic tower. I do have other versions that I can check. I think after this set prints I will add some basic shapes in different orientations to see if there is issues still.
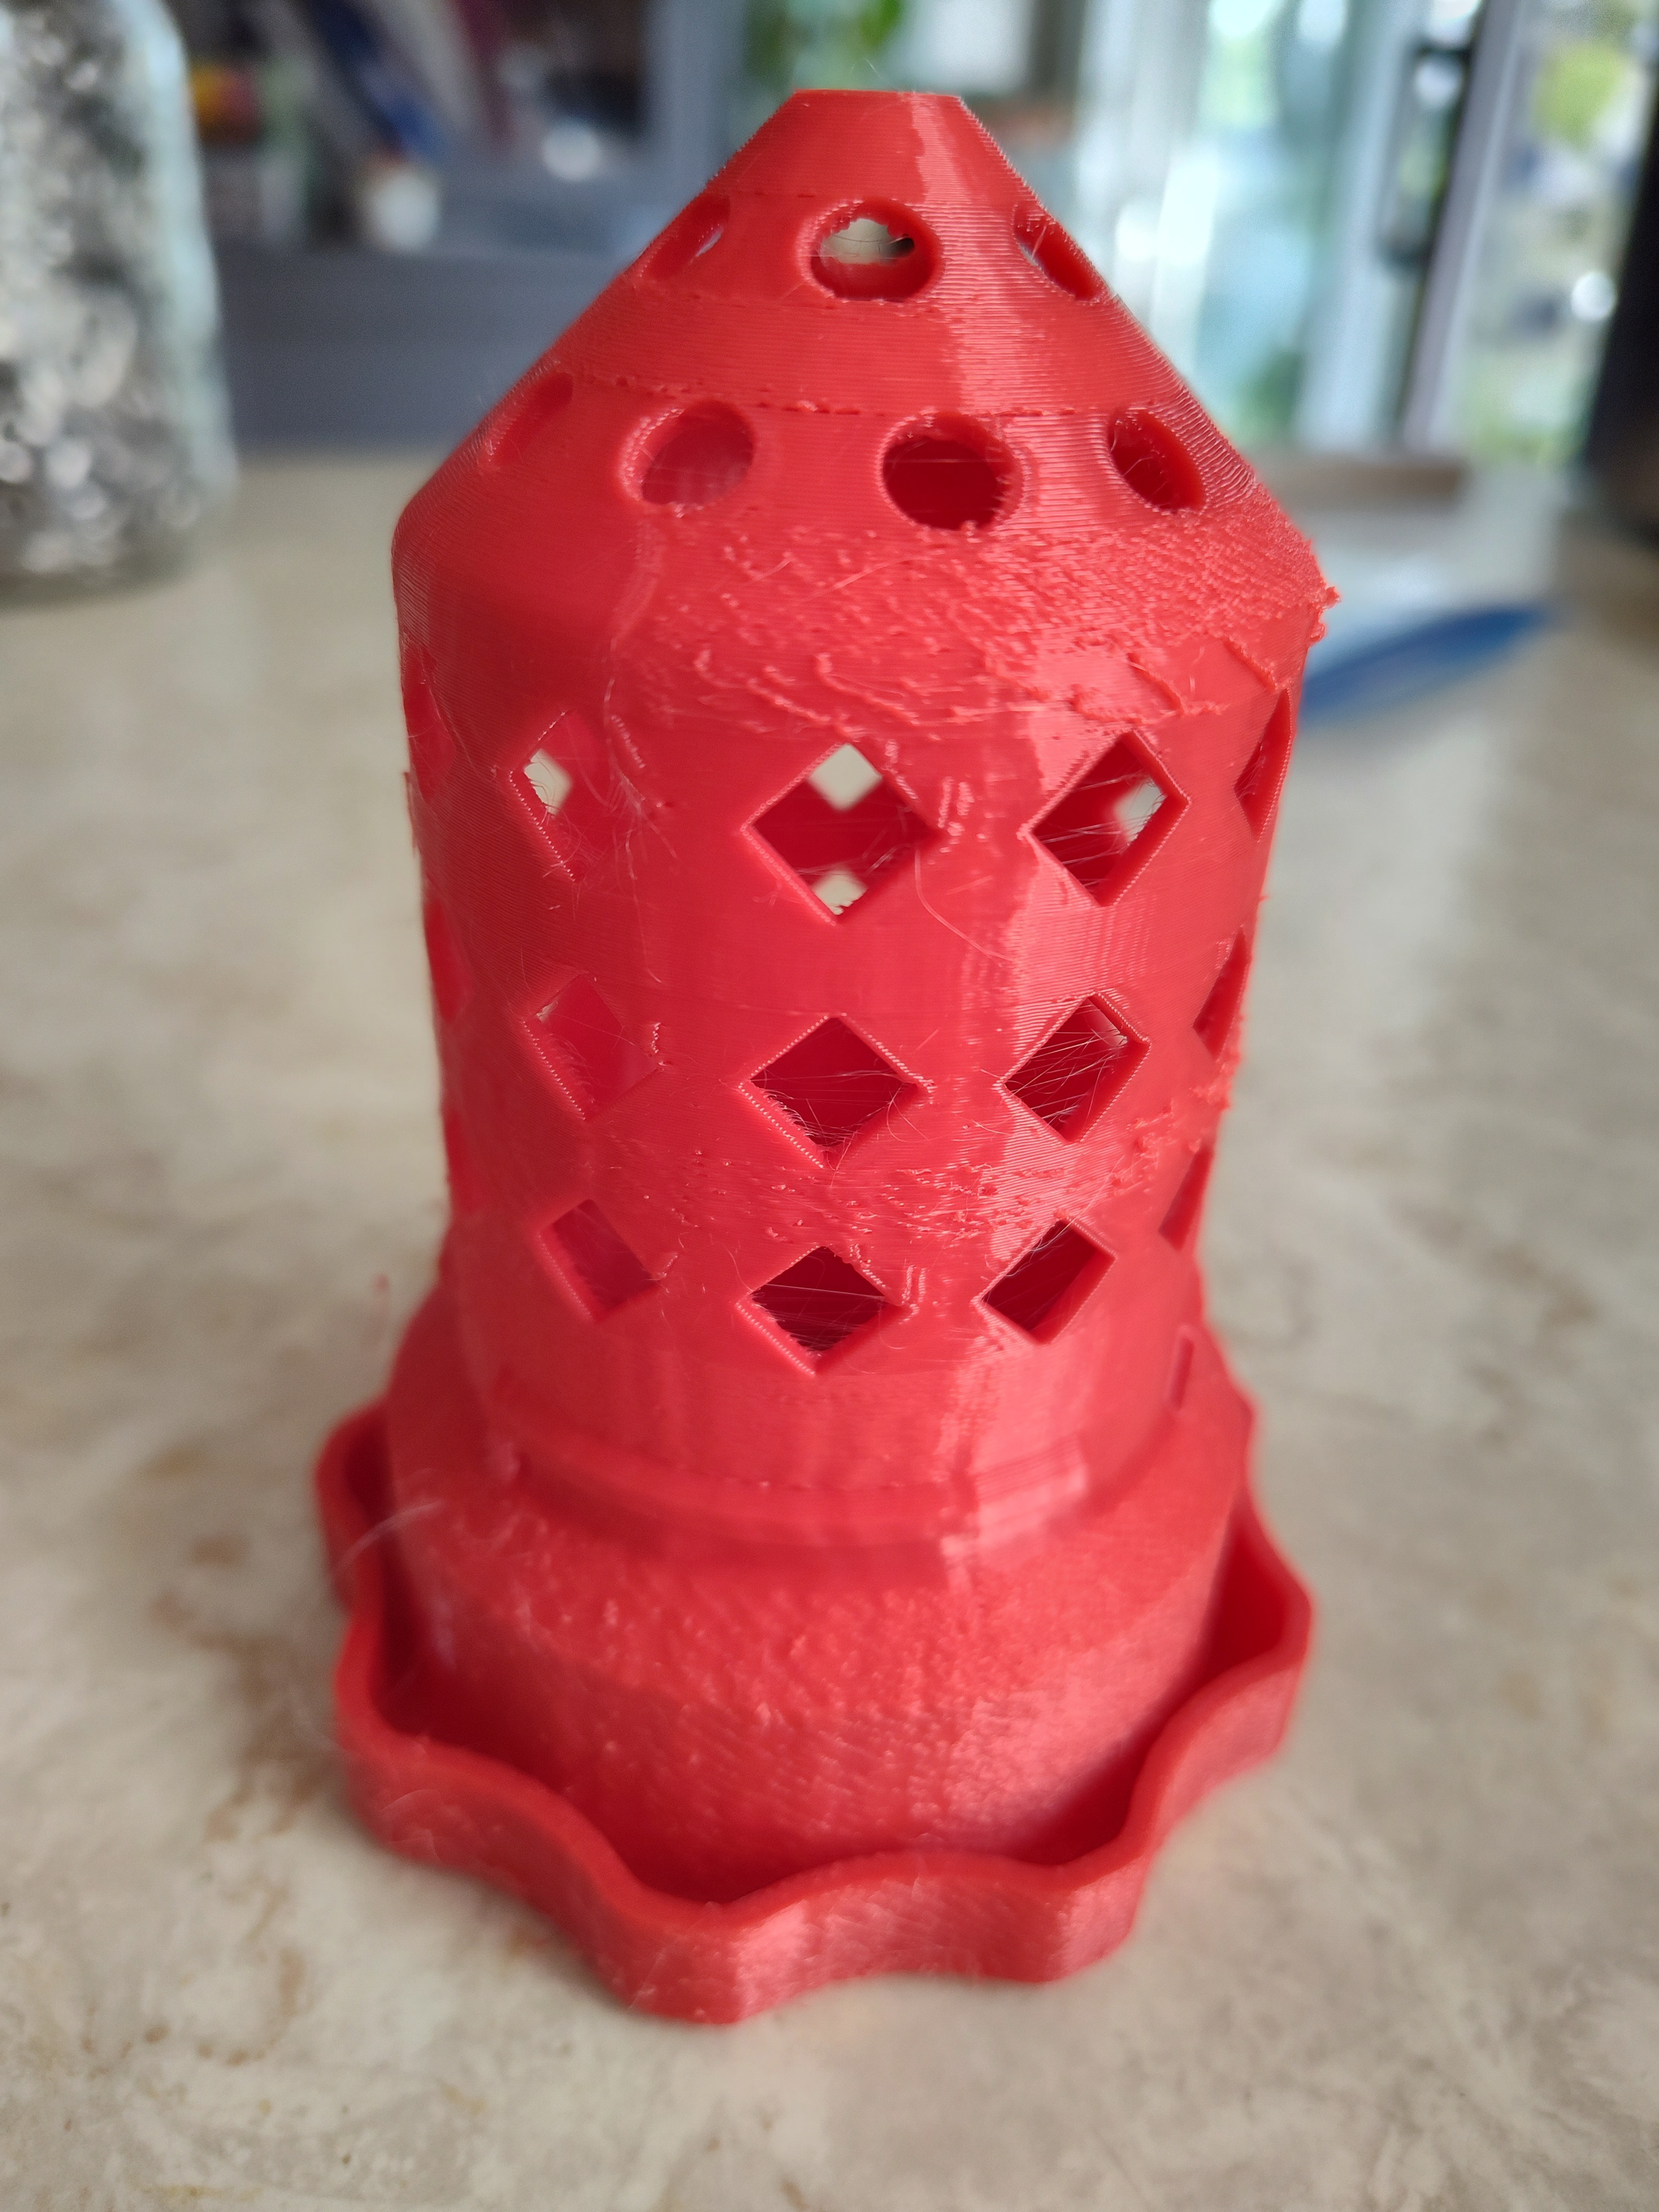
That being said I did print some other items that were stacked and each one is much thinner but there are no artifacts on the outer walls.
I re-lubed the rods before starting another set and still having the issue. I was thinking it had something to do with the Bowden tube but even at the back where the tube doesn't move much the issue still happens.
Is there a specific lube that is better than others?
Thanks for your reply, to your point yes they still fit, been having this issues for a bit now as I'm up to about 40 of these netcups and the associated other pieces for the grow towers.
I think the belts are good, but will double check.
Creality K1 Max Curves Surface Issue
I have a K1 Max and mostly it is running great, however I get strange artifacts on mostly only the front side of curved objects.
I have lubed all the rods, and I have a Capricorn PTFE tube from the filament sensor to the hot end. I tried the printable guide for the tube to go into the hot end but it wasn't any better and I thought that was the culprit at first.
I have an extension piece to raise up the top glass.
I'm using Elegoo Rapid PTEG running at 240c and 250mm outerwall speed. This is mainly happening on the front side and anywhere on the build plate. Filament is dry and fed out of the Creality Space dryer.
These items are small netcups but it was also happening on the larger sections that they go in.
Using Orcaslicer and Arachne wall generator.
Any ideas where I need to be focusing my attention on?
Depending on how close you are to you friends you can look at Grohman
https://grohmannknives.com/index.php/products/kitchen
The are based on Nova Scotia.
Easy there pussies can be useful, unlike that shitheel.
Funny and sad that the Canadian taxpayers are footing the bill for some friend of a friend to have a luxury condo in NYC. These so called leaders are just milking everyone. What a disgrace.
I can't speak to multi colour perse, however the creality K2 went on sale today for certain countries and they have a 50% off sale for a limited number of units, they sold out today's stock but will have it again tomorrow then they will drop to 40% then 30%. Might be good if your willing to be a beta tester essentially.
The Prusa units seems to waste less filament.
https://youtu.be/DUvkz-XcYRs?si=R6Z63zq1g9rEhnfH
I think this might be a method.
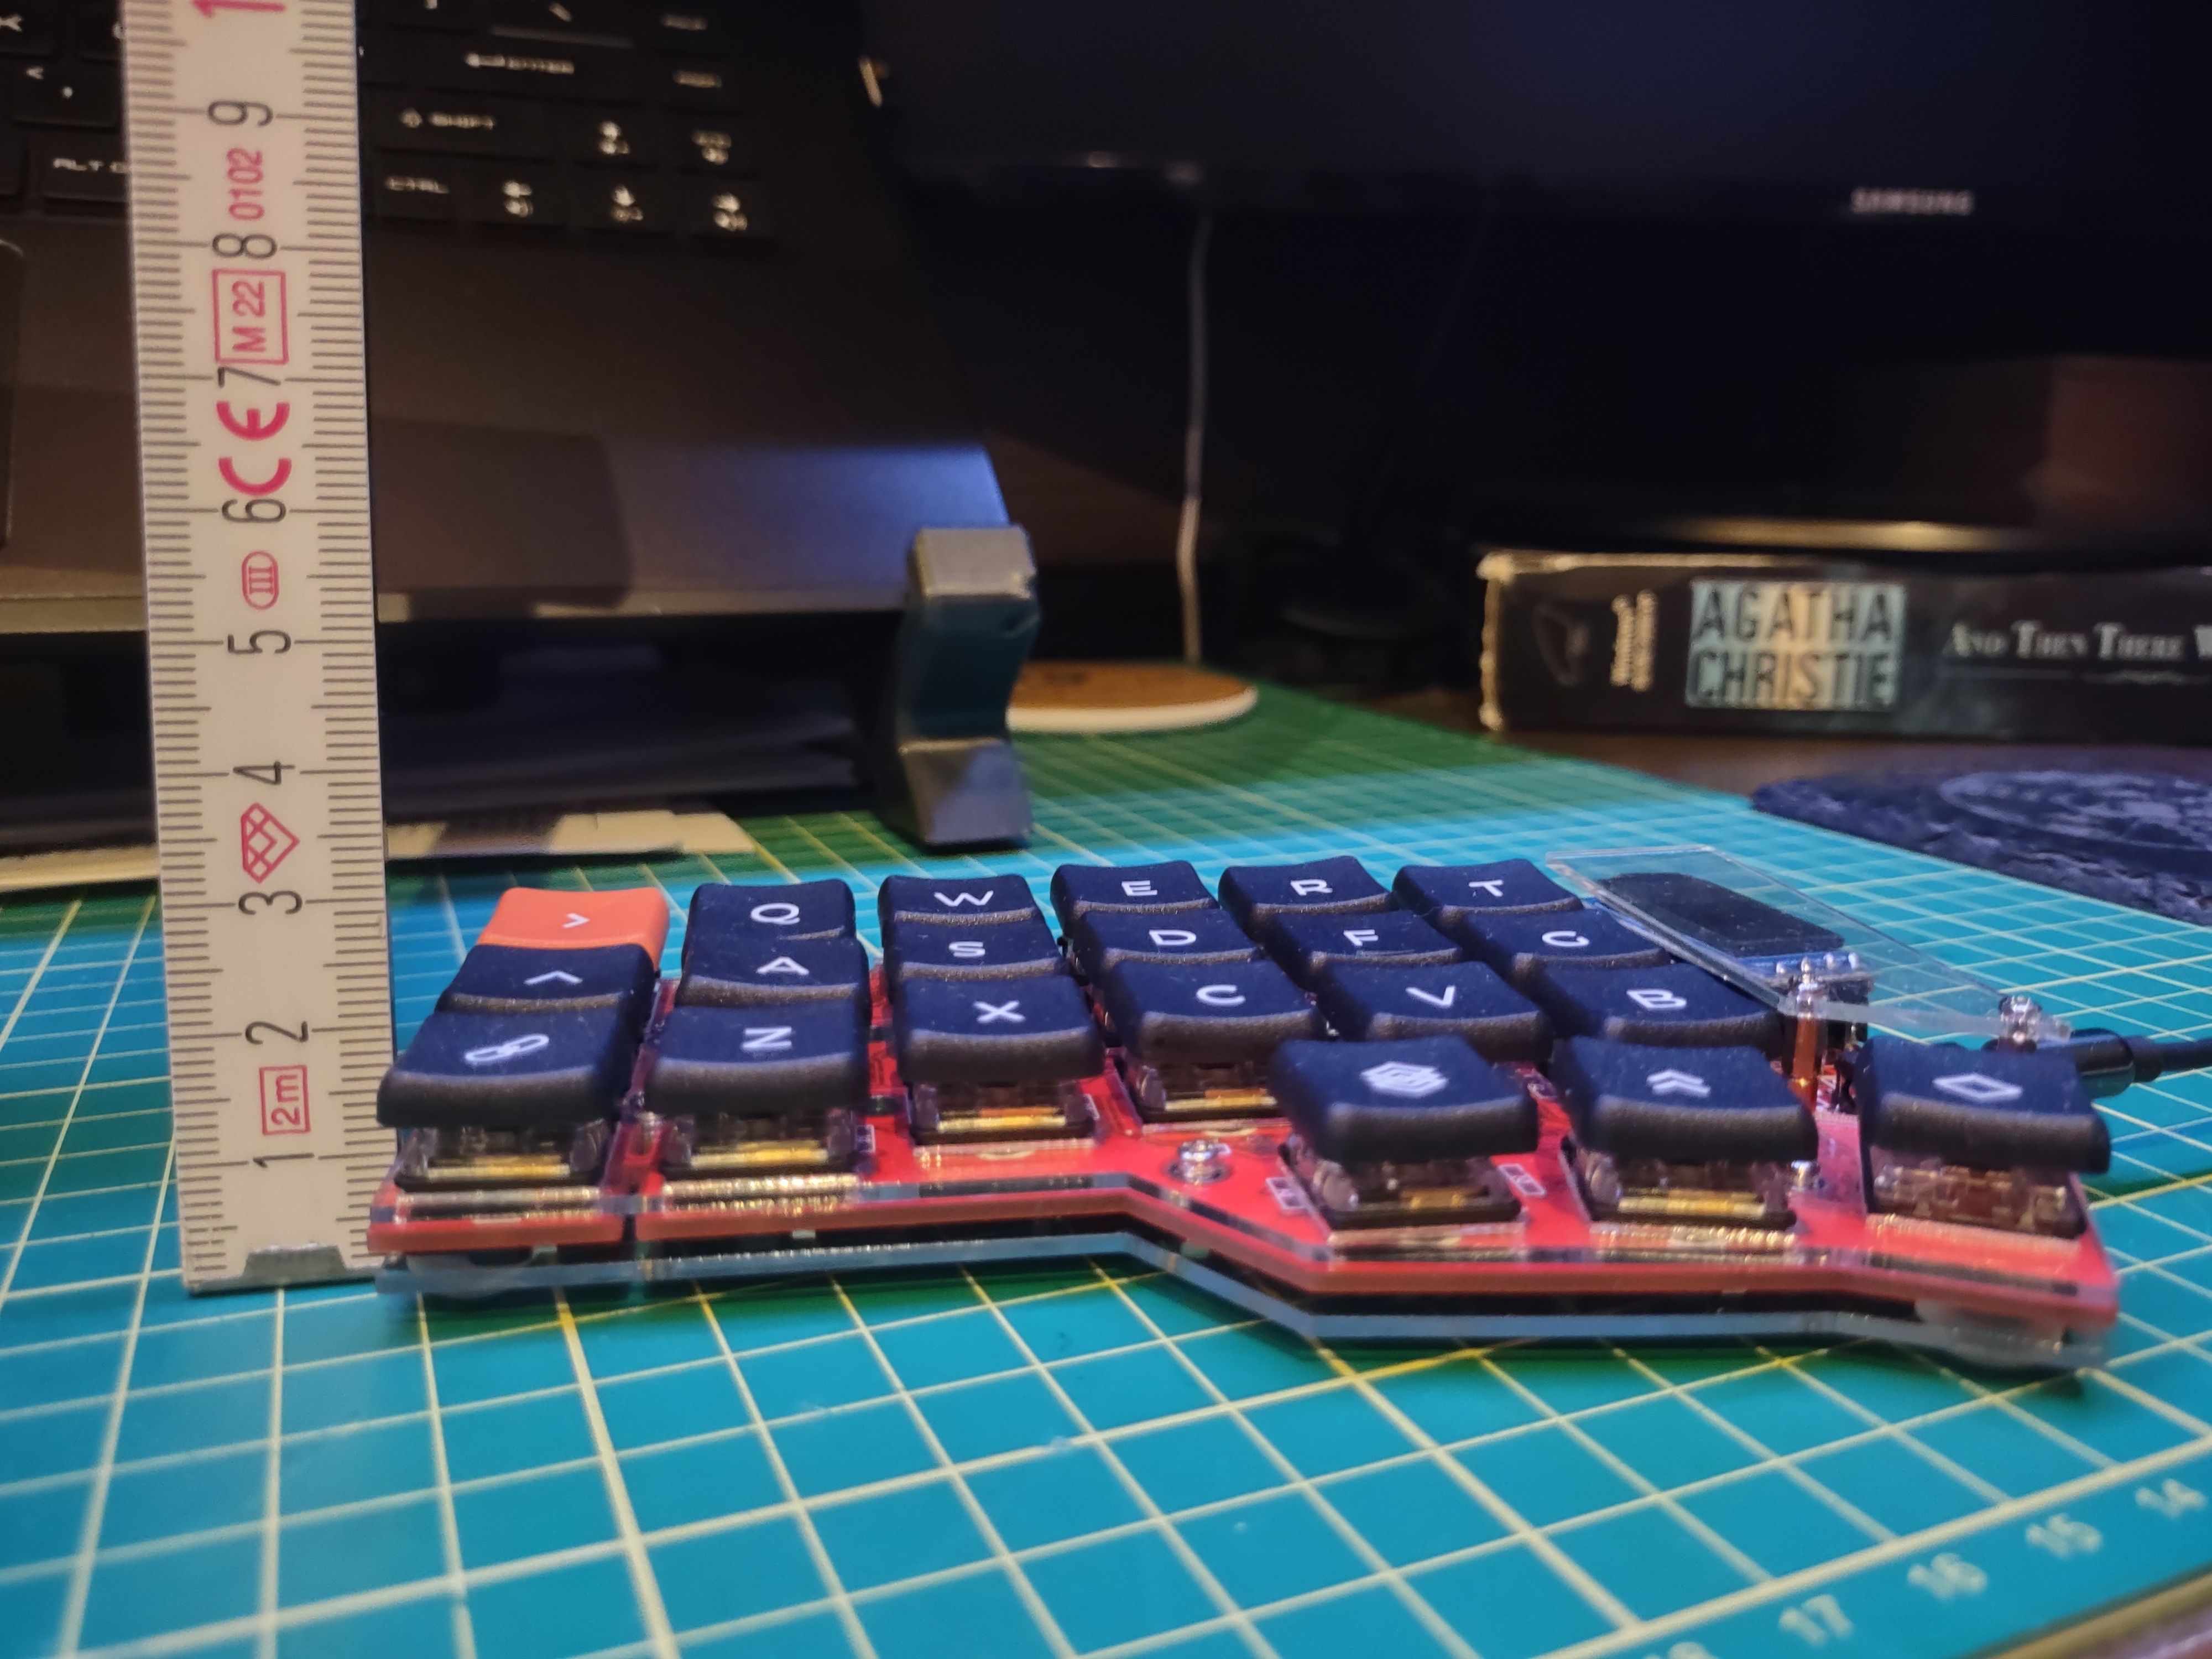
I cannot comment on the noise of the Kailh browns at the moment as the board has been giving me some grief and I am waiting on new Elite-C controllers from Omega Keys. The keycaps came from ChocFox, the PCBs were ordered directly from JLCPCB using Foostans design, everything else was mainly through amazon. As for the acrylic, I have my own CO2 laser and just cut them out of 1.5mm clear, also from Foostans GitHub repository.
There are several good tutorials out there with parts lists and the build process, Marek Piechut has a good one called Corne MX 3.0 Keyboard Build Guide.
I wanted something super thin so soldered the controller to the board, I do not suggest this as I had some errors on my part and destroyed the controller, thus I'm waiting for two new ones before I can use the board, until then I'm stuck with my hand wired dactyl manuforms.
Just make sure you know what board and keycaps you want, sounds like the Corne chocolate to me, and pay close attention to the LEDs if you go that route, I have 600 that are of no use to me and am waiting on the proper ones.
Other than that have fun and there are plenty of people willing to offer help and advice between here and Discord.
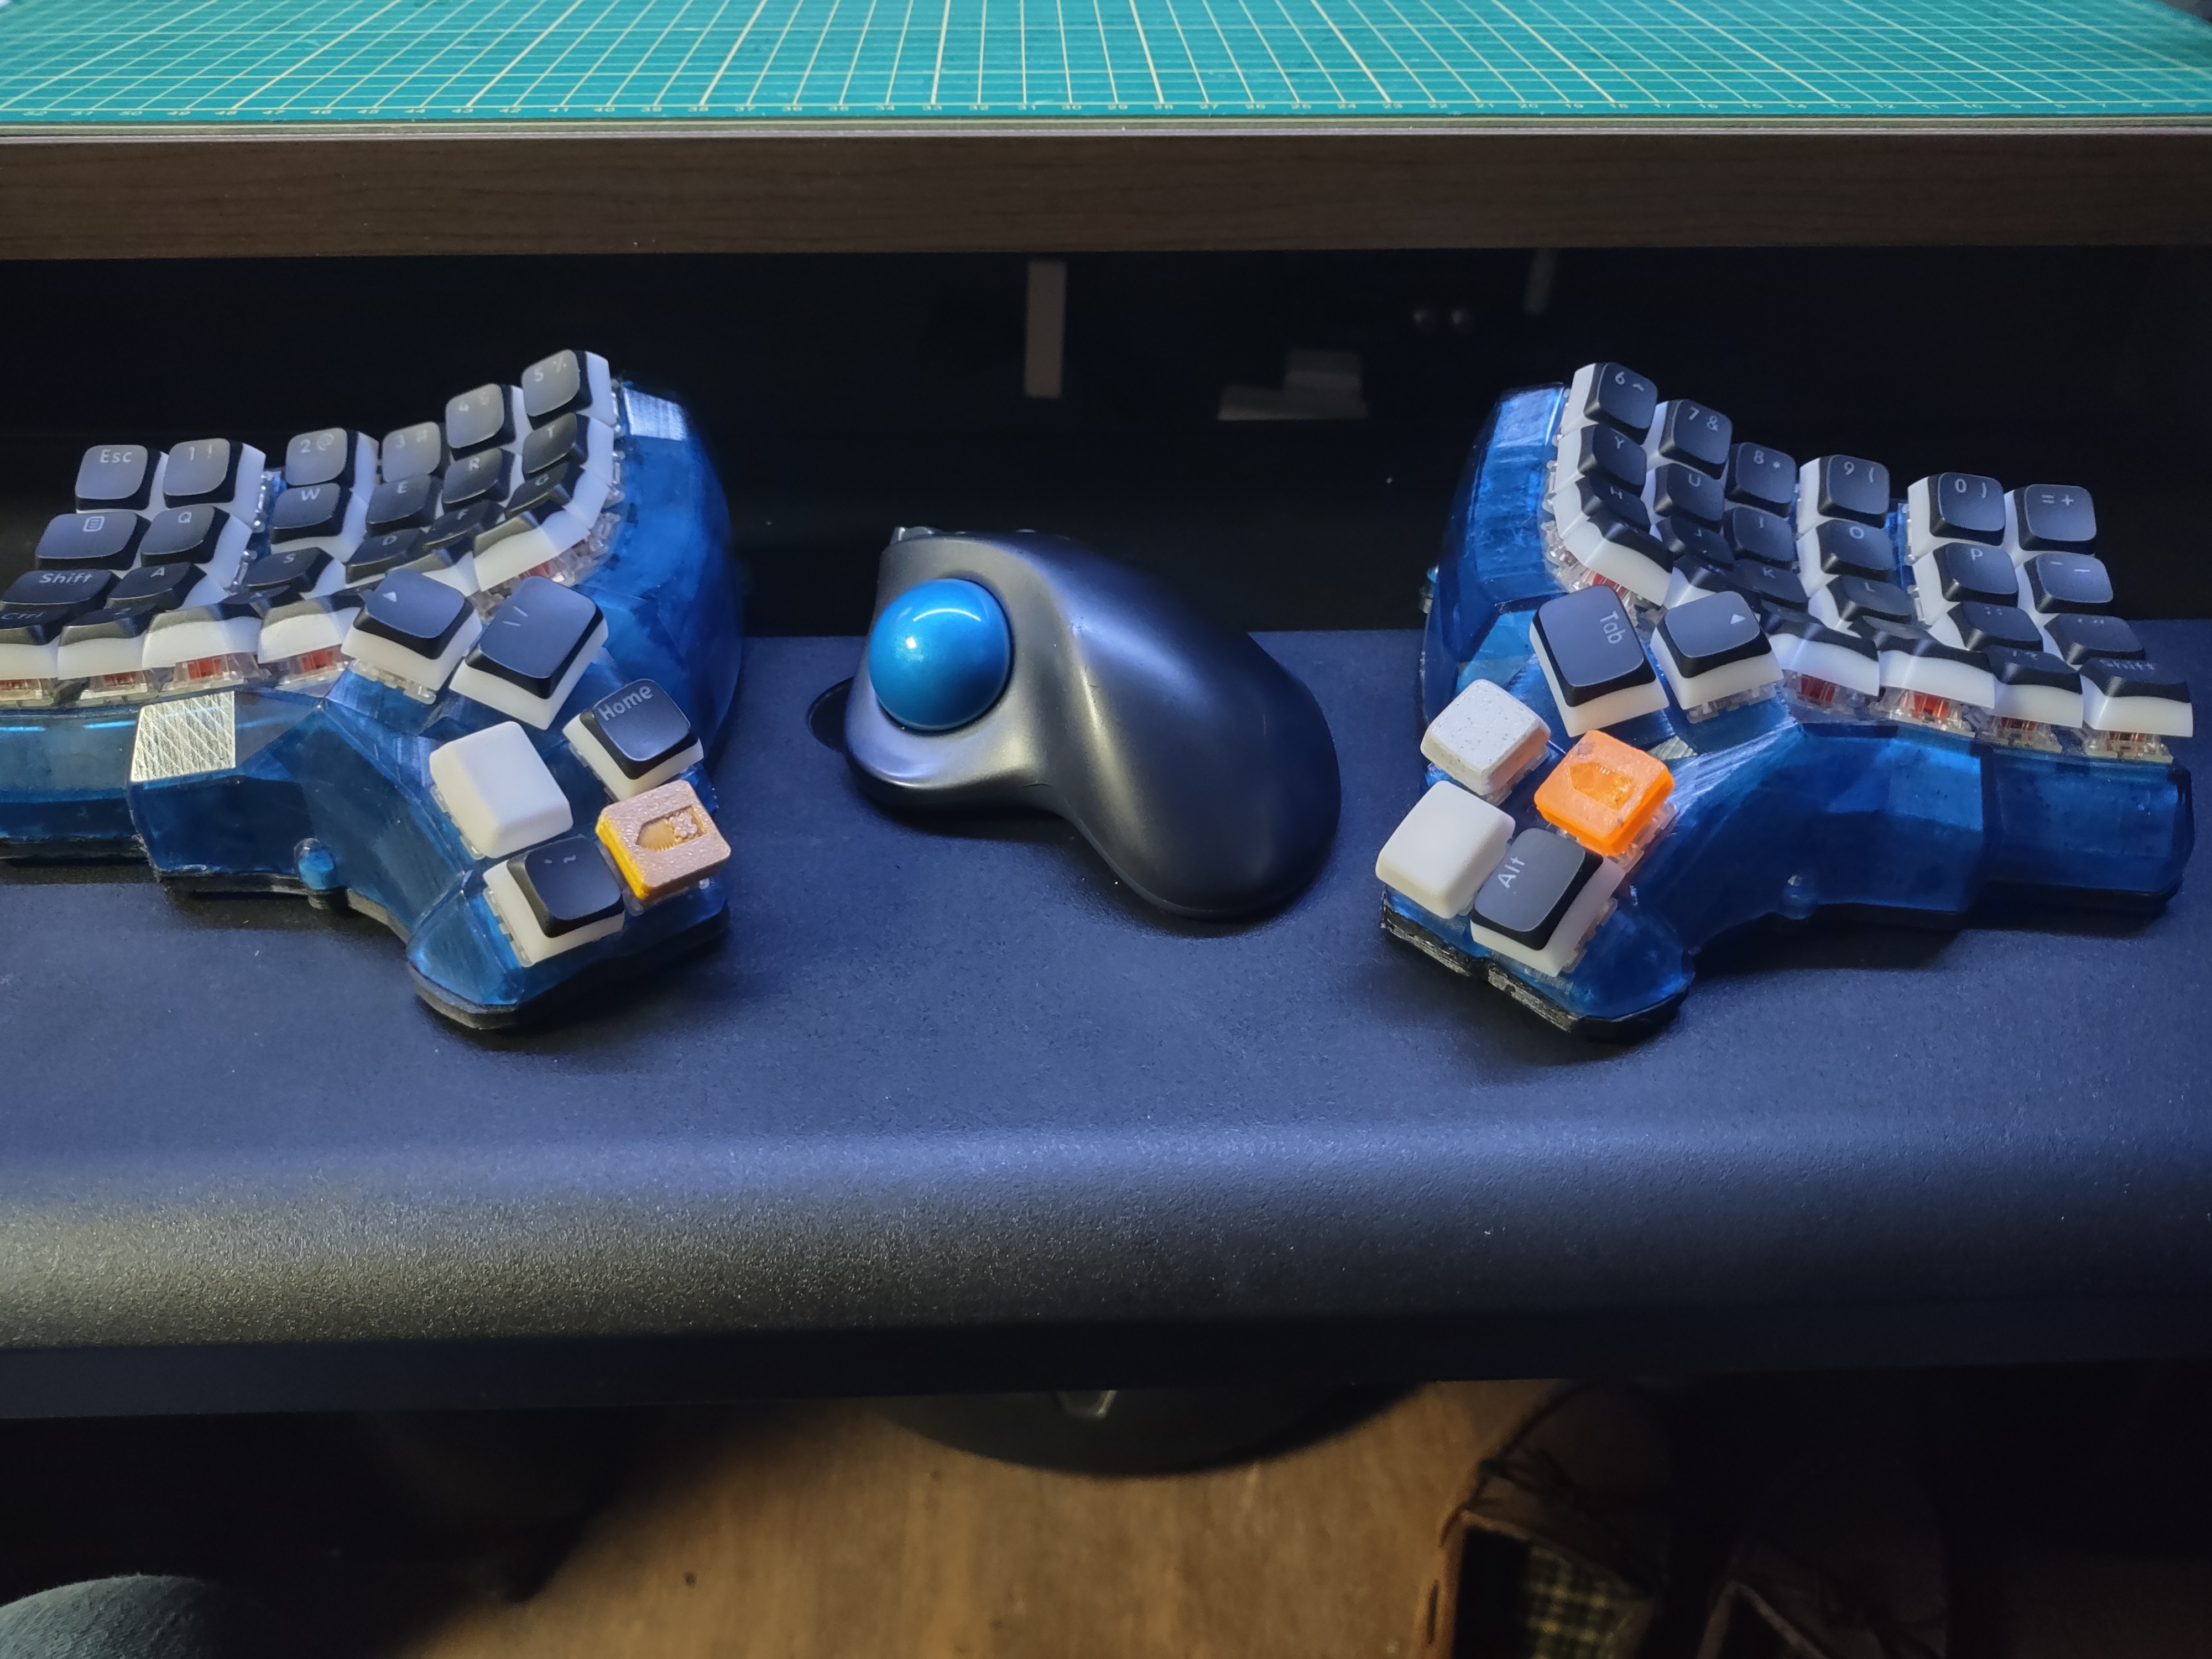
I'm building a low pro Corne, Kailh browns with ChocFox keycaps, it'll be my travel keyboard.
Elite C Firmware Issue
Hey all, working on a Corne Choc, and having issues flashing the right half of the board with QMK Toolbox.
I am getting a validating error with:
822 invalid byte in program region, 0 outside region
This is the second controller as I had the same error on the first and assumed I ruined it when I was troubleshooting it and desoldering.
Ordered a new board and same issue.
I've cleared the EEPROM, there are not shorts or bad solder on the headers. This is a completely separate PCB.
Tried using QMK MSYS to reflash ISP (not sure I got that right, don't really understand it).
Get a blue led indicating power, reset button works to put it into bootloader mode, still nothing will flash on it.
Unfortunately on the first go round I had soldered headers to swap but was too tall for me, desoldered the boards and went directly to the PCB, as mentioned this is a new board on a new PCB, did not program prior to soldering.
Corne Choc Per Key LEDs
Hey all, building a corne chocolate with Kailh switches. I ordered SK6812Mini-E RGBs. The issue is that to bottom mount the LEDs it looks as though the ground tab (shorter tapered with notch) is in the wrong corner. It would work if I were mounting them on top, but there is no room for the LED. I'm assuming that I need new LEDs to mount from the bottom.
The PCB is Chocolate v2.1. I am looking to see if anyone can verify that the solder tab on the pcb with the little white box around it needs to match the tapered tab on the LED or the ground pin.
Almost forgot, Teaching Tech has a great calibration web site and YouTube channel.
My first suggestion if you have a Raspberry Pi Zero 2w or better is to install Klipper. If that isn't a route to go down for you then Myers firmware was really good (not sure if it's still around since I went to Klipper).
I've printed so many miss for mine, spool holder moves to the side, filament guides, different spool holders with bearings, new hot end fan assemblies ,small tool holder that slides into the v slots. Covers for the V slots.
It's a great machine to learn and tinker on, some people don't like that but I really enjoyed it.
I've since switched to direct drive instead of the Bowden tube and added another Z rod and stepper. I have a microswiss all metal hotend which has been fantastic and I have put Noctua fans for the heat break. Also upgrade the Bowden tube to the Capricorn type, it is much better.
A magnetic build plate from Biqu was another good addition.
Almost forgot, I printed risers for the feet out if TPU and that seems to help, I probably would have tried the ones that the squash balls go into but these work fine. In order to print TPU with the Bowden tube you need to print slow.
Also keep an eye on the plastic handle on the filament extruder, they are known to be weak and crack, a good aluminum dual gear is a good low cost investment.
Search on Thingiverse and Printables for mods for the Ender 3 and you will be overwhelmed with your options.
Patience is a virtue, and remember there are no stupid questions and a huge community of people willing to help.
If there is anything else I can do to help, don't hesitate to ask.
That sounds like an interesting plan, my E stepper driver was what acted up on my 4.2.2, it seems to be working now, but I'd like to see your config in case I need to go in that direction.
Upgraded Ender 3v2 Issues
I've had an Ender 3 v2 for a few years now and have had mostly no issues. I've upgraded the hot end to a microswiss direct drive and a dual z setup (twin z steppers on a shared cable).
Recently started having issues with the 4.2.2 board and replaced it with a BTT mini SKR 3 v3.
Since I've put the new board in, I am having troubles getting the bed to level and stay level.
The height profile of the bed is now showing a dip in the centre (which was not there before). When I run a print it seems to be overcompensating for the dip. If I level the bed with the corner screws and don't use the bed mesh then it prints fairly good, but after a few prints the bed goes out of level again.
I can't seem to make any adjustments that help the issue. Yesterday tightened up all the screws (silicon spacers instead of springs). Releveled the bed and had a small dip in the middle and an overall height difference of 0.170 across the bed (normal prior to this was 0.310). Sent a print with bed mesh and mostly came out good.
Went to fire up a new print today and the bed height is showing 0.830 overall difference.
I'm not sure if it is a BL touch issue (the BL touch is a v3.1 and is original with a single 5 wire connector plugged into mini SKR) dual z issue (disconnected 1 in an attempt to level and didn't see much difference, the BTT has two connectors for dual z but run off one stepper driver as I understand it, I am using the y cable for only one stepper motor, while the other motor has its own cable).
I use klipper with a RPi zero 2 w.
I just can't seem to figure out that has been causing the issue since the board swap.
Anyone have some ideas as where to point me?